Apple has invented many products to solve a problem in the past, and one of their second-best solutions has been an iPhone, which has indeed change the way we use to think about the smartphones.
Now people are more connected with the technology like finding of the RAM, Storage capacity, Graphics, User Interface, and more because of the original iPhone 2G.
However, iPhone does come with several complex issues, which are not easy to solve.
iPhone data recovery is one of them because Apple is serious about security.
iPhone Data Recovery
We are going to show you how you can recover deleted data like Photos, Text’s, and almost everything that is savable.
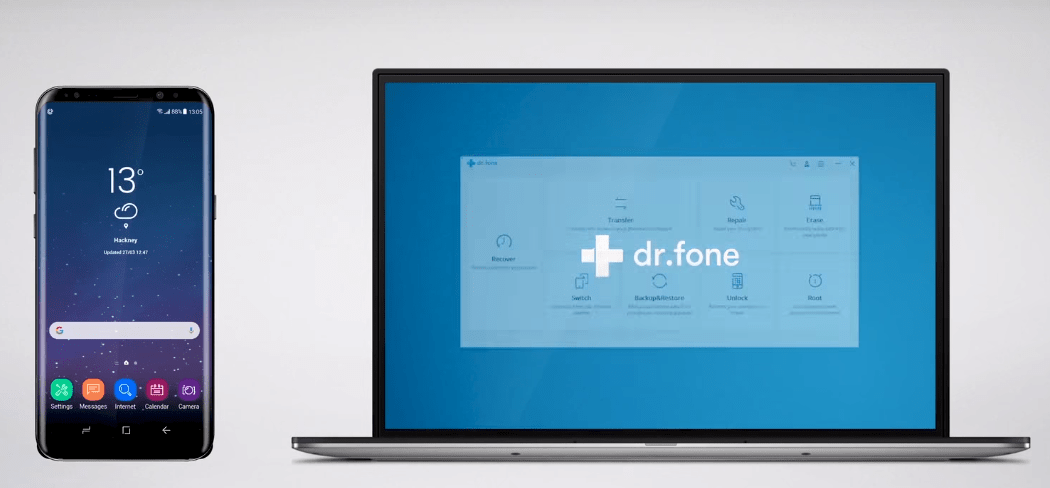
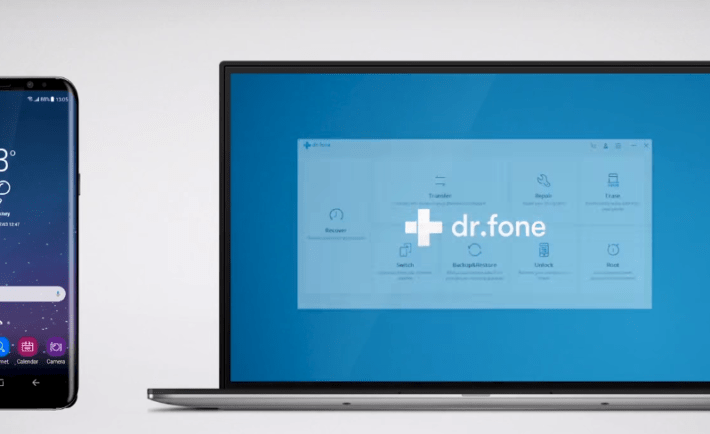
First, you have to download the Windows or Mac program called Wondershare Dr.Fone program.
*1 Recover Deleted Data
You need to have a USB to connect your iPhone to the Windows or your MacBook.
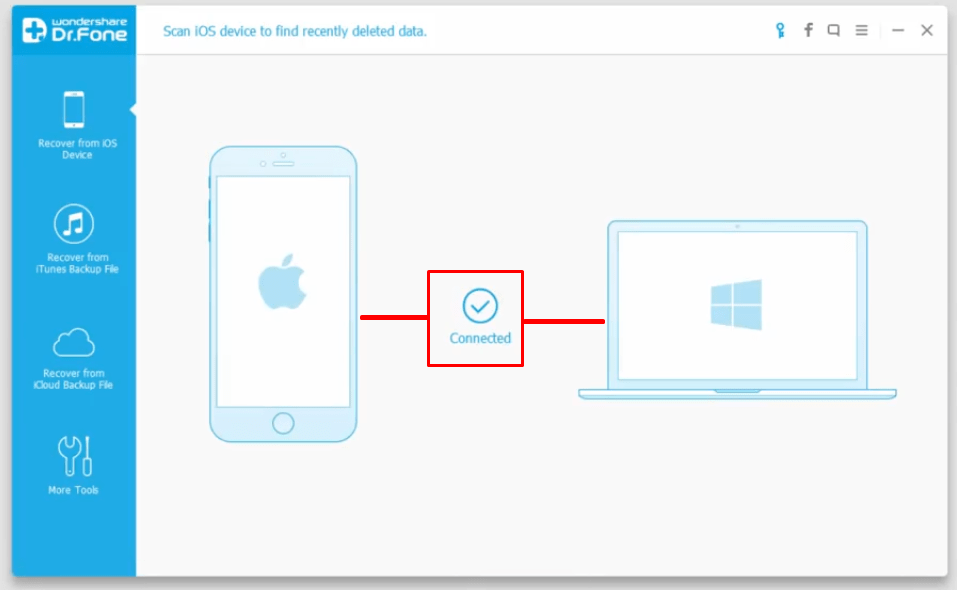
Step 1: We assume that you have downloaded the program and Installed it on your laptop or PC if so, launch it.
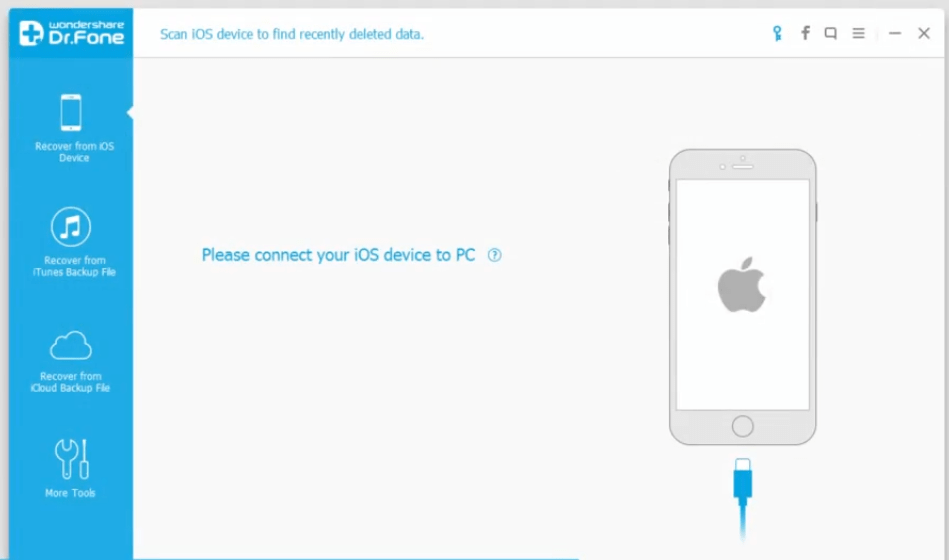
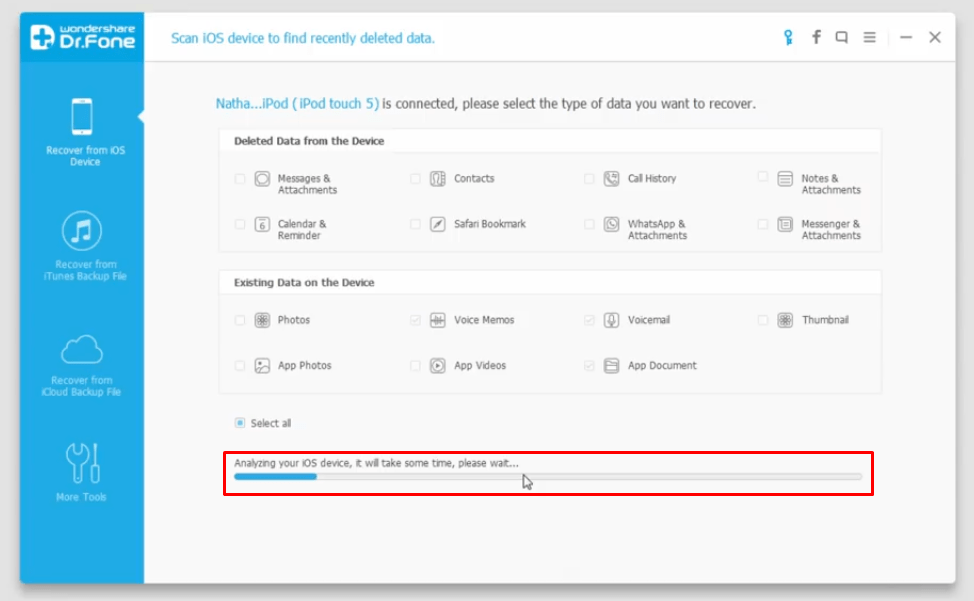
Step 2: You have to connect your iPhone via USB to your PC, and make sure it detects properly.
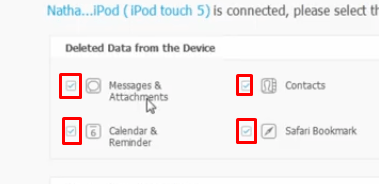
Step 3: You have plenty of to choose from and select any one of them. You can also select multiple data, make sure you have a good configuration PC.

Step 4: Select one or multiple data to recover.
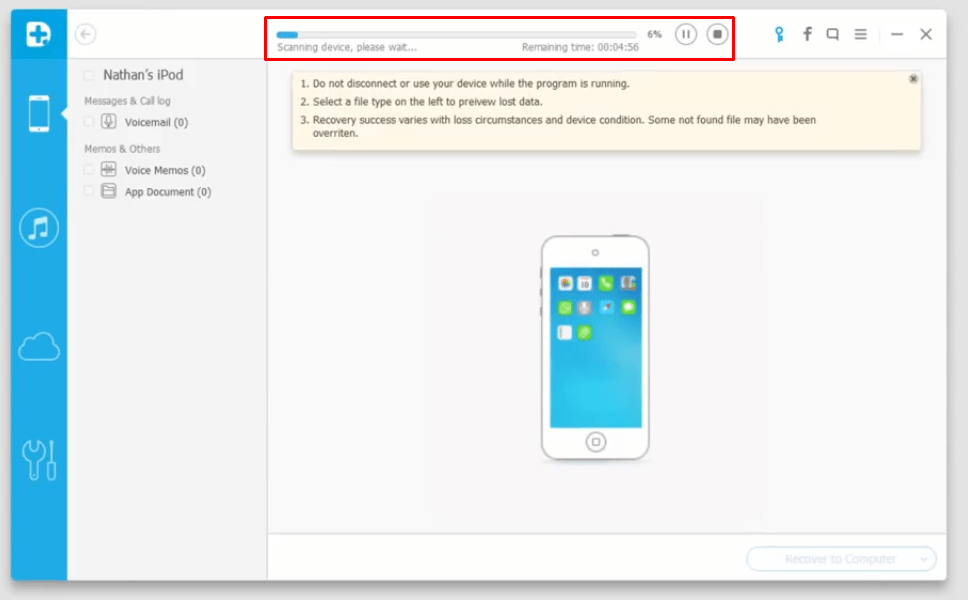
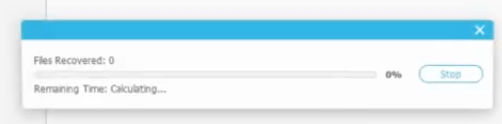
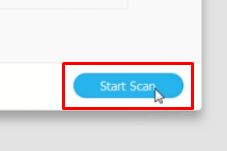
Step 5: Click on “Start Scan,” it takes time to scan (Depends on your PC configuration) and also do not close the program if it freezes for few seconds.
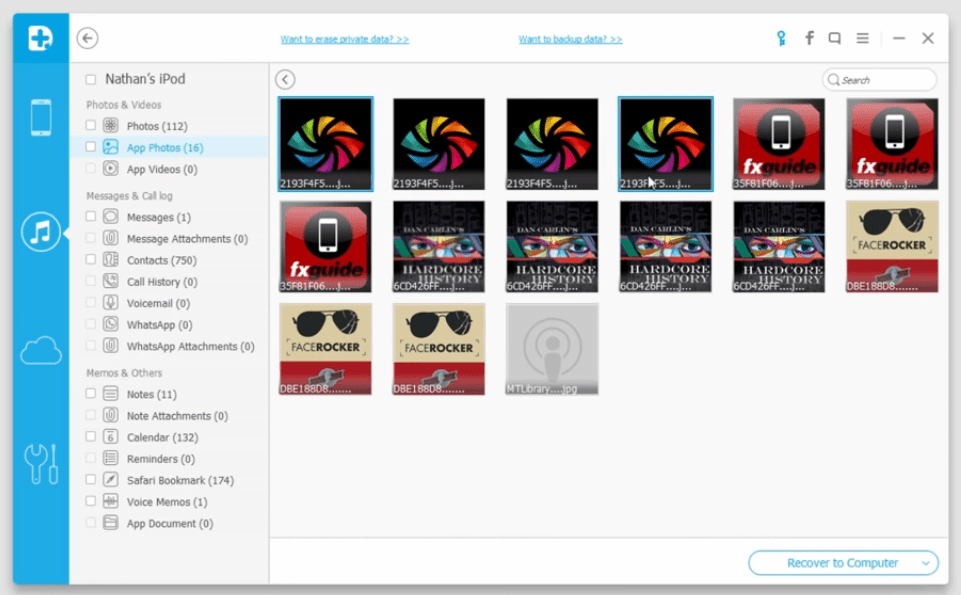
Step 6: The next window is all about showing you results of what has been recovered so far. Do not close the program or disconnect your iPhone because the scanning is running. You have two options, pause, and stop.
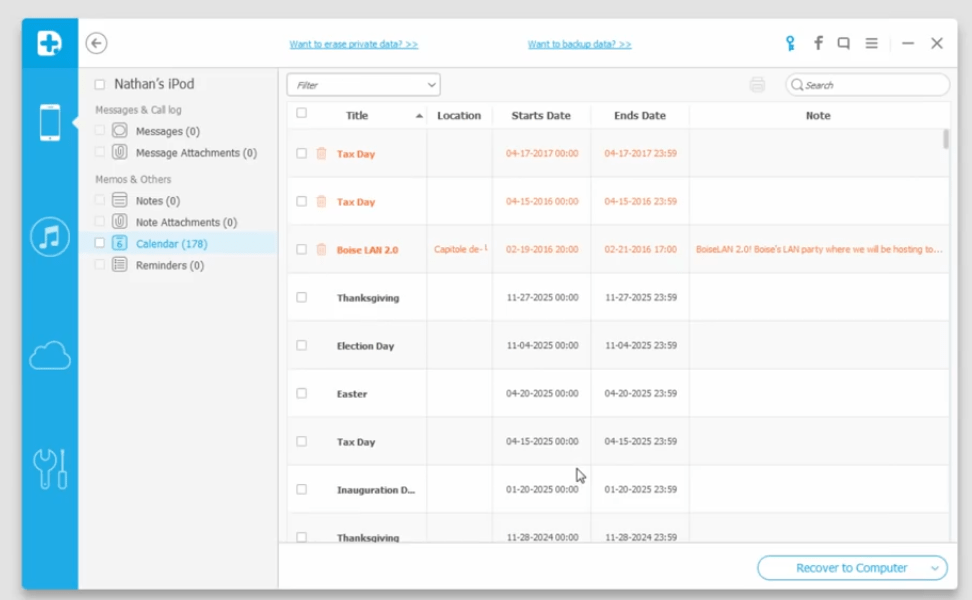
Step 7: When the scanning is complete, you will have one or multiple files, which you can recover right away.
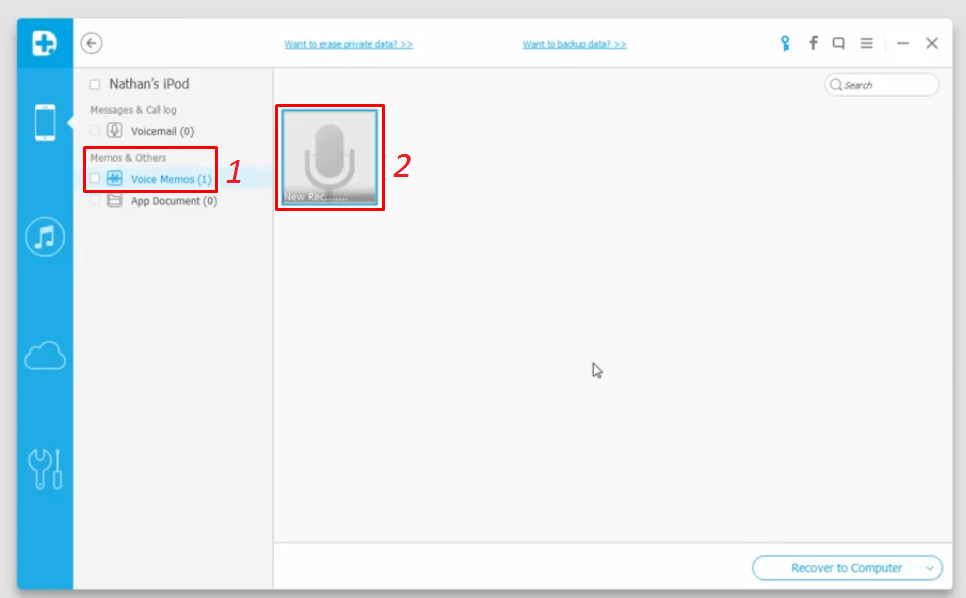
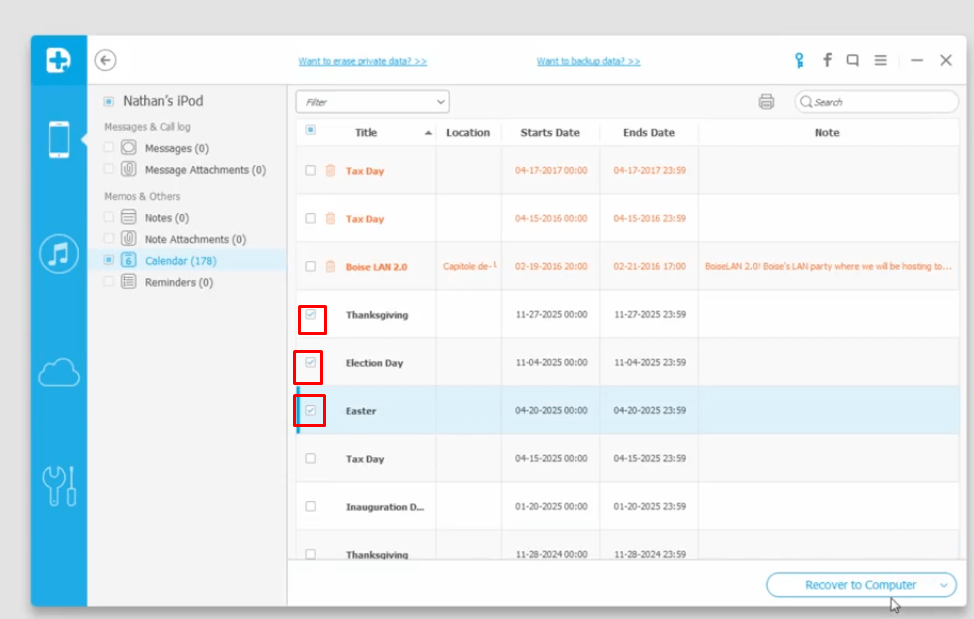
Step 8: You have to select the files, and when you click on it, you should see a TICK mark on the file.

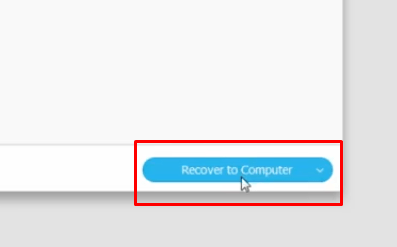
Step 9: Once you do, click on recover files (Recover to the computer.)
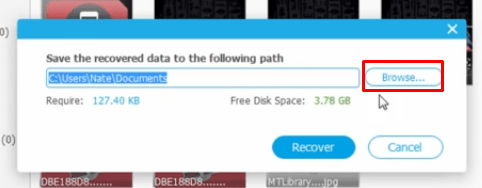
Step 10: A window will pop-up, and you have to select the location to save the deleted files.
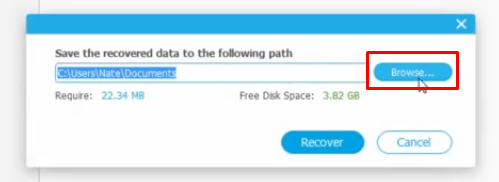
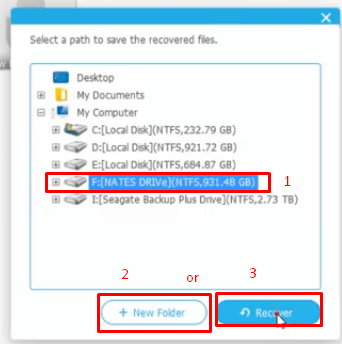
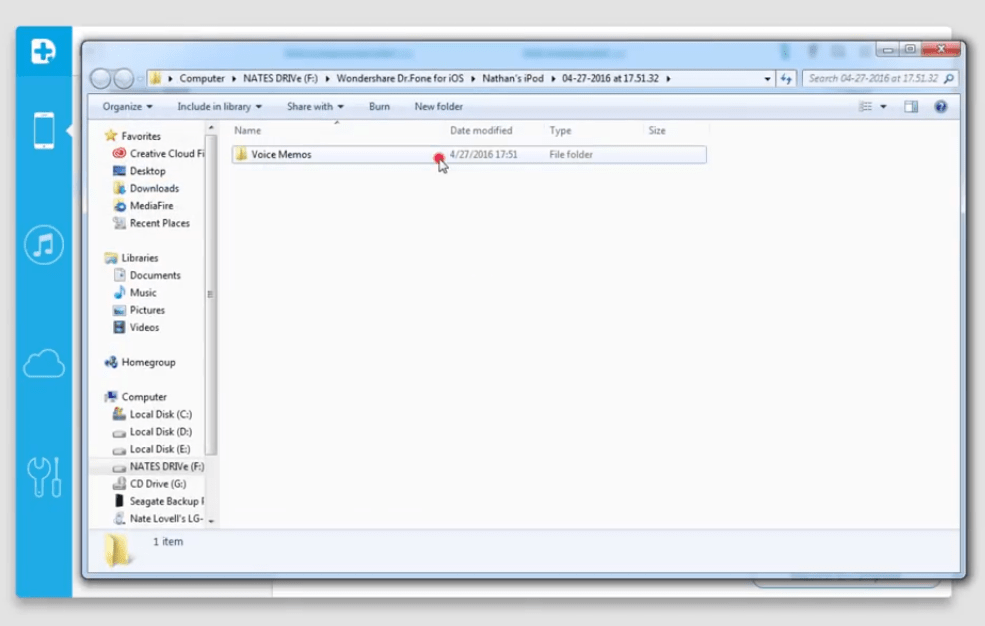
Step 11: Browse the location and click on “Recover” or you can create a new folder and “Recover” the separately, which is a good option.
Step 12: The files will be recovered within a matter of minutes or depend on the file size as well, so keep that in mind but do not close the Window if the pointer does not move any further.
Step 13: A Windows will pop if you have selected a location and recovered the files up there.
Now, what will happen when you have multiple files?
Step 14: Here we are, a list of deleted files that can recover.
Step 15: You have to select them all by clicking on the spot we have highlighted in the snapshot.
Step 16: The rest of the process will remain the same.
*2 How-to Recover from iTunes Back-up?
We will show you how you can back-up from the iTunes back up file.
Step 1: Launch the Dr.Fone program. Make sure your iPhone connected via USB cable.

Step 2: You have to click on the “Recover from iTunes backup file.”
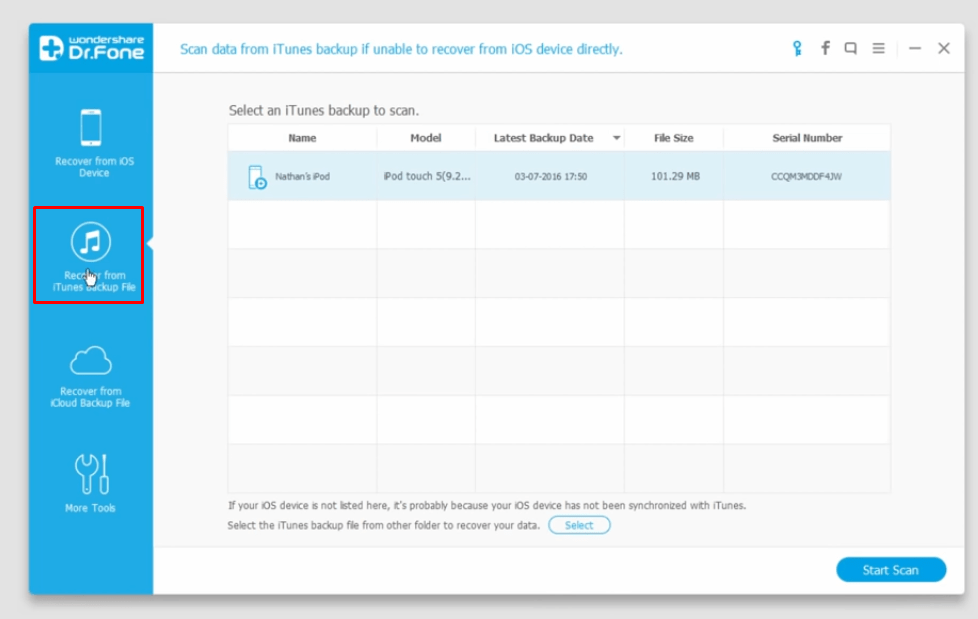
Step 3: The program will automatically detect the system for backups, so you don’t have to worry about the manual work.
Step 4: You can also browse and select it manually by clicking on “Select.”

Step 5: Start scanning and you will have the backup files on your screen.
Step 6: Now its time for you to select the files you want to recover. Click on the files and a tick mark will appear everytime you select a file.
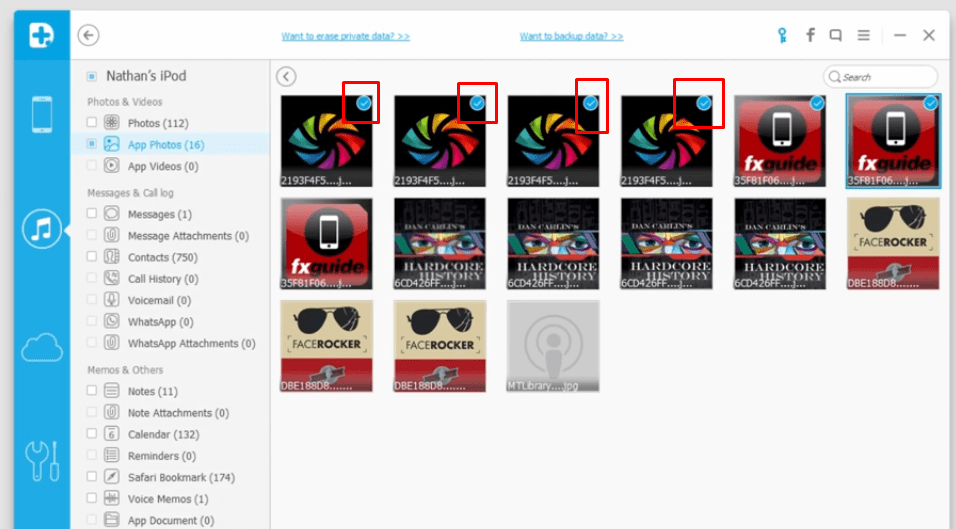
Step 7: Click on “Recover to the computer.”

Step 8: Browse the folder and save the file to the folder of your choice.
As you have seen that recovering deleted using Dr.Fone is extremely easy and it comes with several features that will make your iPhone seem superior.
Conclusion
The program is a premium which is priced at $39.95/1 Year license and $49.95/Lifetime license. Download the 30-days-trial version and start using it to get some results, then consider to buy it. Let us know what do you think about the Dr.Fone in the comment section.